
How to Make a C&C Cage
Easy as 1-2-3! (really)
- Snap the grids (or cubes) together.
- Cut, score, fold and tape the Coroplast.
- Drop the Coroplast box into the grids, add bedding and pigs!
| ||||
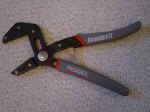
Some brands are harder to snap into the connectors than others. You may also want a pair of pliers or a rubber mallet to help complete some connections.
Grids and Connectors needed:
2 x 3 grid cage (10 grids/20 connectors) 2 x 4 grid cage (12 grids/24 connectors) 2 x 5 grid cage (14 grids/28 connectors) 2 x 6 grid cage (16 grids/32 connectors) 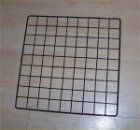  | 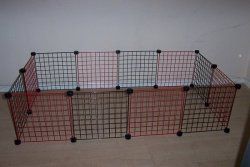 | |||
| ||||
| See the see yellow lines in the photo. Remember to allow space for the connectors (measure from the inner edge of the connectors). The box will sit inside them.
With 35.5cm grids, the measurements should be:
1.04m x 68.6cm for a 2 x 3 grid cage
1.42m x 68.6cm for a 2 x 4 grid cage 1.80m x 68.6cm for a 2 x 5 grid cage 2.13m x 68.6cm for a 2 x 6 grid cage |  | |||
| ||||
| Add 30 centimeters to the length and width for a 15 centimeter wall all the way round. This gives you the outer dimensions to cut (photo is just to give you a perspective). If the cage is going against a wall, you may want to make the back wall 30 centimeters high to help prevent hay spillage. In that case, you'll add a total of 45 centimeters to the original measurement from above, for one 30cm side.
So, using the above measurements, you should get:
1.34m x 98.6cm for a 2 x 3 grid cage 1.72m x 98.6cm for a 2 x 4 grid cage 2.10m x 98.6cm for a 2 x 5 grid cage 2.43m x 98.6cm for a 2 x 6 grid cage (2.44m is a full sheet length) |  | |||
| ||||
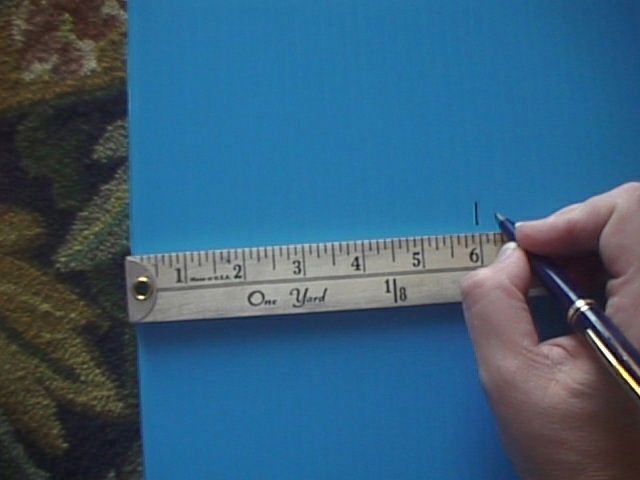
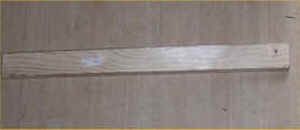
Measure and mark the Coroplast (using a tape measure, yardstick and pen). Cut it to the outer dimensions with the scissors or box cutter. A pair of heavy duty scissors or a box cutter is easier than regular scissors, but you can still use regular scissors. Cut it to the outer dimensions with the scissors or box cutter. A pair of heavy duty scissors or a box cutter is easier than regular scissors, but you can still use regular scissors.Cut lines depend on how big of a sheet you are starting with (partial sheet shown). |  | |||
| ||||
 Measure and mark 15cm in from all sides (the inner dimensions). Measure and mark 15cm in from all sides (the inner dimensions).Score the Coroplast along these lines using a razor blade or box cutter. Be careful not to cut all the way through. Practice on a scrap piece first.  Scoring with the grain takes less pressure than scoring against it. Scoring with the grain takes less pressure than scoring against it.  |  | |||
| ||||
Cut all the way through the Coroplast at each corner, just 15cm, to create the flap to make the corner.
|  | |||
| ||||
Snap the edges away from the score line to form a box.
  |  | |||
| ||||
Secure the flaps with clear packing tape. A couple of wide strips on the outside work great.
 |  | |||
| ||||
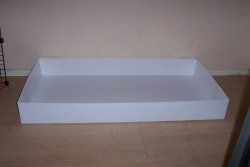
Place the box inside the connected grids and you're all done - easy!
|  | |||
What You'll Need (in addition to Cubes and Coroplast)
| ||||||||||||||
      | ||||||||||||||
  | ||||||||||||||
No comments:
Post a Comment
Post a comment here! If you want to post a question visit the tab Ask Us - your question will be answered faster.